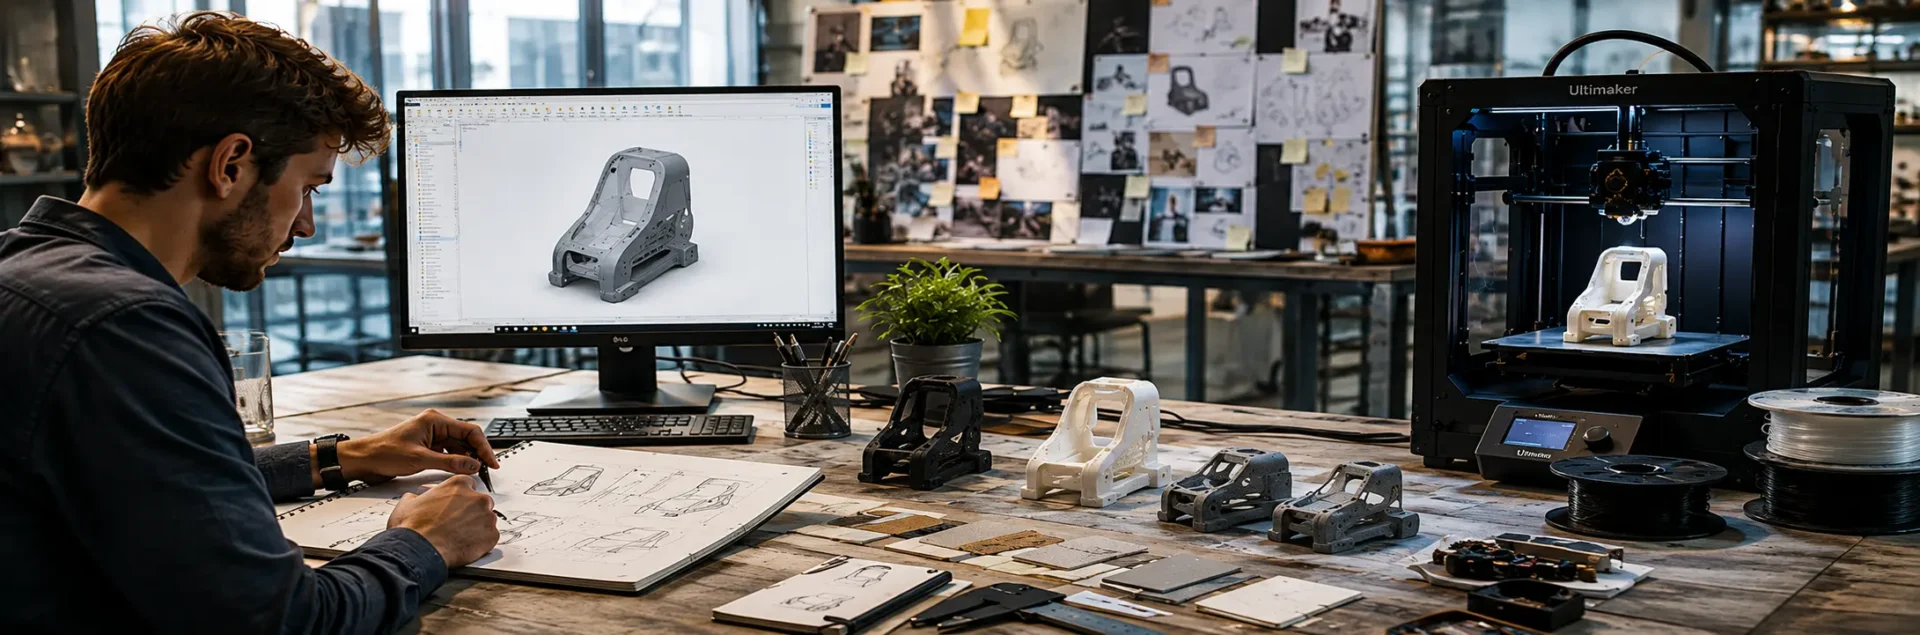
Every product begins with an idea, but turning that idea into a working prototype takes more than creativity. It requires a structured process of designing, testing, refining, and validating before the final product is ready for manufacturing.
This is where additive manufacturing, commonly known as 3D printing, plays a vital role. By enabling engineers to create prototypes directly from digital designs, it speeds up product development, reduces costly revisions, and helps teams bring better products to market faster. Understanding this workflow offers valuable insight into how modern products move from concept to reality.
What Is Additive Manufacturing?
Imagine building a model using LEGO blocks, adding one block at a time until the structure is complete. Additive manufacturing follows a similar principle. Instead of cutting material away from a solid block, it builds an object layer by layer using a digital design.
This approach offers a significant advantage of additive manufacturing. Engineers can produce complex geometries, lightweight structures, and customised components that would be difficult or even impossible to manufacture using conventional methods.
One of its most widely adopted applications is rapid prototyping. Rather than investing time and money in manufacturing tools before evaluating a design, companies can create prototypes quickly, identify improvements, and make design changes while the product is still under development.
Today, several additive manufacturing technologies support different engineering requirements. Depending on the application, manufacturers can choose technologies suitable for plastics, metals, ceramics, or composite materials, enabling innovation across industries ranging from healthcare and aerospace to consumer goods.
The Additive Manufacturing Workflow
A successful prototype is rarely created in a single attempt. Every product goes through a series of carefully planned stages where ideas are transformed into digital models, physical prototypes, and finally validated designs ready for production.
Let’s walk through each stage of this journey.
Idea and Concept Development
Every product starts with a challenge that needs to be solved. It may involve creating a completely new product, improving an existing design, or developing a customised solution for a specific application. At this stage of the additive manufacturing process, engineers focus on understanding the problem before thinking about the solution.
Strong concept development requires asking the right questions. Who will use the product? What purpose should it serve? What constraints must the design overcome? Answering these questions helps define the product’s objectives before any design work begins.
Another important consideration is product functionality. A successful product isn’t judged only by its appearance. It must perform reliably, be practical to manufacture, and satisfy user expectations. Establishing these requirements early creates a clear direction for every stage that follows.
Once the concept has been finalised, the idea is ready to move from paper to a digital design environment.
CAD Design
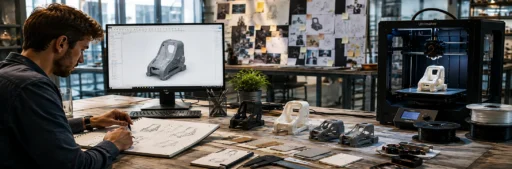
With the concept clearly defined, engineers begin developing a 3D CAD model using professional design software. This digital model acts as the blueprint for the entire manufacturing process, capturing every dimension, feature, and assembly detail required to produce the final component.
Unlike traditional drawings, the CAD model allows engineers to visualise the product from every angle, evaluate design feasibility, and make modifications before any material is used. Because the model exists digitally, design changes can be implemented quickly, reducing both development time and cost.
This stage also establishes the foundation for the entire additive manufacturing workflow. Every subsequent step, from material selection to slicing and printing, depends on the quality and accuracy of the CAD model.
Design for Additive Manufacturing (DfAM)
Designing a product for conventional manufacturing is very different from designing one specifically for 3D printing. Features that are difficult or expensive to manufacture using traditional methods may be produced with relative ease through additive manufacturing.
This is where Design for Additive Manufacturing (DfAM) becomes important. Instead of simply preparing a model for printing, engineers optimise the design to take full advantage of additive manufacturing capabilities. They may reduce unnecessary material, create lightweight internal structures, consolidate multiple parts into a single component, or redesign features to improve printability.
By considering manufacturing requirements during the design stage, DfAM helps reduce material usage, minimise production time, and improve the overall performance of the finished product.
Material Selection
Once the design is finalised, the next question is equally important: What should the prototype be made of?
Selecting the right material influences not only the appearance of the prototype but also its strength, flexibility, durability, and overall performance. The choice depends on how the prototype will be used. A visual model may require a different material from one intended for functional testing.
Today, a wide range of 3D printing materials is available, including plastics, engineering polymers, metals, composites, and ceramics. Each material offers unique properties that suit different applications.
For prototypes requiring smooth surface finishes and intricate details, resin printing is often preferred. It is widely used in product design, dentistry, jewellery, and medical applications where precision plays a critical role.
Choosing the right material at this stage helps ensure the printed prototype closely reflects the behaviour of the final product.
Slicing and Printer Setup
A 3D printer cannot interpret a CAD model directly. Before printing begins, the digital model must be prepared using slicing software.
The software divides the model into hundreds or even thousands of thin layers and determines how each layer will be printed. It also generates the G-code, which contains the instructions the printer follows during the printing process. These instructions define layer height, printing speed, nozzle movement, temperature, and other machine settings.
Although this stage often goes unnoticed, proper printer setup has a significant influence on print quality, build time, and material usage. Even a well-designed model can produce unsatisfactory results if slicing parameters are not configured correctly.
3D Printing
With the printer configured, the digital design begins its transformation into a physical object.
During the 3D printing process, the printer deposits or solidifies material layer by layer until the complete model is formed. Watching a prototype gradually emerge from nothing more than digital instructions is one of the most fascinating aspects of additive manufacturing.
Different printing technologies follow different approaches. Powder bed fusion systems create components by fusing powder using lasers or electron beams, while filament and resin-based printers use completely different techniques to achieve the same objective.
As demand for customised and high-performance products continues to grow, industrial 3D printing is enabling manufacturers to produce complex components with greater flexibility than traditional manufacturing methods.
Post-Processing
The printed component is rarely ready for immediate use. Most prototypes require additional finishing to improve their appearance, dimensional accuracy, or mechanical performance.
Common post processing techniques include removing support structures, cleaning excess material, heat treatment, painting, and sanding, polishing to achieve the desired surface finish. The amount of post-processing depends on both the printing technology and the intended application.
For metal additive manufacturing, post-processing often becomes even more important. Heat treatment, machining, and surface finishing help improve strength, precision, and overall performance before the component is tested or used in production.
Testing and Validation
Creating a prototype is not the final objective. Its real value lies in evaluating whether the design performs as intended.
During prototype testing, engineers examine dimensions, functionality, durability, ergonomics, and overall performance under real operating conditions. The results help identify opportunities for improvement before large-scale manufacturing begins.
At the same time, quality validation ensures that the prototype meets design specifications and performs reliably. This stage also confirms whether the product satisfies technical standards as well as customer requirements, reducing the risk of expensive design changes later in the development process.
Design Iteration
Very few successful products emerge from the first prototype. Most undergo multiple rounds of refinement before reaching their final form.
Feedback collected during testing often leads to design improvements, creating an ongoing process of design iteration. Engineers modify the CAD model, print an updated prototype, evaluate the changes, and repeat the cycle until the product achieves the desired performance.
This continuous improvement closely aligns with the agile development cycle, where products evolve through repeated testing and refinement rather than waiting until the end of development. One of the greatest strengths of additive manufacturing is that these iterations can be completed quickly, allowing teams to innovate faster while reducing both cost and development time.
Benefits of Additive Manufacturing
The impact of additive manufacturing extends well beyond creating prototypes. By enabling faster design validation and greater flexibility, it has fundamentally changed how products are developed across industries.
Some of its key advantages include:
- Faster product development through rapid prototyping.
- Greater design freedom for producing complex geometries.
- Reduced material waste compared to many conventional manufacturing methods.
- Easier customisation for low-volume and specialised products.
- Lower development costs by identifying design improvements before production.
- Faster innovation through continuous testing and design refinement.
Rather than replacing conventional manufacturing, additive manufacturing complements it by helping organisations make better design decisions long before full-scale production begins.
Build Industry-Ready Competencies with CADD Centre
Understanding the additive manufacturing workflow is only the beginning. Applying these concepts in real-world engineering projects requires practical experience with industry-standard software, design principles, material selection, and manufacturing workflows.
An Additive Manufacturing Course helps learners move beyond theory by introducing the complete product development process, from creating digital models and preparing them for printing to evaluating prototypes and refining designs based on testing outcomes.
At CADD Centre, learners gain exposure to industry-relevant tools, practical assignments, and project-based learning that reflects modern engineering practices. This approach helps students and professionals develop industry-ready skills while understanding how additive manufacturing is used across product design, automotive, aerospace, healthcare, and manufacturing industries.
Whether you’re an engineering student looking to strengthen your foundation or a working professional exploring advanced manufacturing technologies, structured learning can help you understand how ideas are transformed into products that are ready for production.
Conclusion
The journey from an idea to a working prototype is rarely straightforward. It takes multiple iterations, careful testing, and informed design decisions to create a product that is ready for manufacturing. Additive manufacturing has made this process faster, more flexible, and more efficient, making it an integral part of modern product development. For aspiring engineers and designers, learning these workflows is a practical step towards understanding how innovative products are developed in today’s manufacturing industry.
Frequently Asked Questions
1. What is additive manufacturing?
Additive manufacturing is a manufacturing process that creates physical objects by building them layer by layer from a digital design. Unlike conventional manufacturing, which removes material through cutting or machining, additive manufacturing adds material only where it is required, reducing waste and enabling greater design flexibility.
2. What are the different types of additive manufacturing?
Some of the most widely used additive manufacturing technologies include Fused Deposition Modeling (FDM), Stereolithography (SLA), Selective Laser Sintering (SLS), Direct Metal Laser Sintering (DMLS), Binder Jetting, and Material Jetting. Each technology is suited for different materials and engineering applications.
3. Which materials are commonly used in additive manufacturing?
Common materials include PLA, ABS, PETG, Nylon, engineering polymers, photopolymer resins, stainless steel, titanium, aluminium alloys, and composite materials. Material selection depends on the application’s strength, durability, surface finish, and performance requirements.
4. What software is used in the additive manufacturing process?
The workflow typically involves CAD software such as Autodesk Fusion, SolidWorks, CATIA, or Siemens NX for product design, along with slicing software like Ultimaker Cura, PrusaSlicer, or Simplify3D to prepare models for 3D printing.
5. How can I learn additive manufacturing?
A structured Additive Manufacturing Course or 3D Printing Course is one of the best ways to learn the complete workflow. Practical training helps learners understand CAD modelling, Design for Additive Manufacturing (DfAM), material selection, printer operation, post-processing, and prototype validation through real-world projects.
6. How can I enroll in CADD Centre’s Additive Manufacturing Course?
You can enrol by visiting your nearest CADD Centre, exploring the course details on the official website, or contacting a CADD Centre counsellor to understand the curriculum, batch schedules, and admission process.